About
Create the App
With the configuration settings recorded from the previous post.
- TENANT DOMAIN
- domainname.onmicrosoft.com
- TENANT ID
- 222222222-2222-2222-2222-222222222222
- CLIENT ID
- 11111111-1111-1111-1111-111111111111
- DEFAULT SCOPE
- API.Access
- APP NAME (replace with your app name)
- SampleBlazor
Open the dev command prompt and after navigating to your solution folder, execute the following command from the command line.
dotnet new blazorwasm -au SingleOrg --api-client-id "{CLIENT ID}" --app-id-uri "{CLIENT ID}" --client-id "{CLIENT ID}" --default-scope "{DEFAULT SCOPE}" --domain "{TENANT DOMAIN}" -ho --tenant-id "{TENANT ID}" -o "{APP NAME}"
In “SampleBlazor\Client\Program.cs” remove immediately the prefix “api://” from the DefaultAccessTokenScopes line. Later on we’ll move that to appsettings configuration.
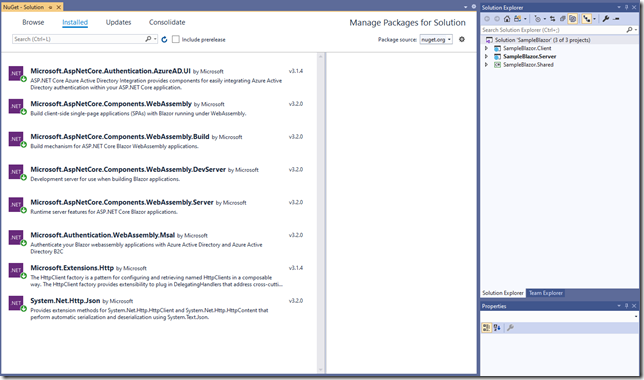
Open the solution in VS2019 and update any nuget packages to at least the major versions.
At this stage the solution should build successfully.
Add the following to Server\Startup.cs in ConfigureServices underneath the AddAuthentication line.
services.Configure<JwtBearerOptions>(
	AzureADDefaults.JwtBearerAuthenticationScheme, options =>
	{
		options.TokenValidationParameters.NameClaimType = "name";
	});
include the using namespace “using Microsoft.AspNetCore.Authentication.JwtBearer;” for JwtBearerOptions class.
Run the app with the Kestrel Server.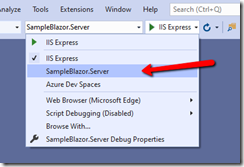
The app should load and you should be able to log in.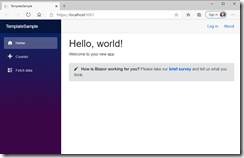
Setup IIS Express by getting the port from the launchSettings.json file. For example “https://localhost:44302/authentication/login-callback”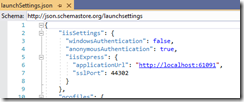
Add that to the Authentication section in Azure.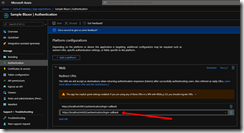
Now the app can be run under Kestrel and IISExpress.
